Quickstart
This guide gets you productive with the AI-powered CLI in minutes. When you're done you'll know how to tackle common development tasks with SII CLI.
Before You Begin
Make sure you have:
- A terminal or command prompt
- A code project (or create a new one)
- A SII account (recommended) or API key
Step 1: Install SII CLI
1. Download Binary Files
Download SII CLI
Choose the version for your operating system and start using the AI-powered development assistant
macOS ARM64
For Mac computers with Apple Silicon chips
macOS Intel
For Mac computers with Intel chips
Linux
For mainstream Linux distributions
Windows
For Windows 10/11
2. Download via Command Line
Use curl to grab the full installer (macOS offers both ARM64 and Intel x64 builds):
# macOS ARM64 (23.91 MB)
curl -L -o sii-cli-macos-arm64.zip https://dc-sh-public.tos-cn-shanghai.volces.com/sii-cli-macos-arm64-package.zip

# macOS Intel x64 (26.29 MB)
curl -L -o sii-cli-macos-x64.zip https://dc-sh-public.tos-cn-shanghai.volces.com/sii-cli-macos-x64-package.zipStep 2: Log In
SII CLI needs an account before it can run. When you start an interactive session with sii, you'll be prompted to sign in:
sii
# You'll be asked to log in on first useOr log in manually:
sii login
# Follow the prompts to authenticate your accountYou can authenticate with either:
- SII account (subscription plan — recommended)
- API key (prepaid credits)
Step 3: Choose Your Authentication Method
SII CLI supports three flexible authentication methods. Choose the one that best fits your needs:
Authentication Methods Comparison
| Auth Type | Description | Environment Variables | Available Tools | Best For |
|---|---|---|---|---|
| SII Auth (Default) | Use SII platform account | SII_USERNAMESII_PASSWORD | All tools + SII-exclusive tools (Cognitions, Deep Research, etc.) | Full feature experience |
| OpenAI Auth | Direct OpenAI API Key | SII_OPENAI_BASE_URLSII_OPENAI_API_KEY | Basic tools | Cost control, fast response |
| Hybrid Auth ✨ (Recommended) | OpenAI generation + SII tools | SII_OPENAI_BASE_URLSII_OPENAI_API_KEYSII_USERNAMESII_PASSWORD | All tools + SII-exclusive tools | Best of both worlds 🚀 |
1. SII Authentication (Full Features)
Use your SII platform account for complete functionality:
export SII_USERNAME="your-username"
export SII_PASSWORD="your-password"Advantages:
- ✅ Access all SII-exclusive tools (Cognitions, Deep Research, etc.)
- ✅ Full feature support
- ✅ Conversation history auto-saved
2. OpenAI Authentication
Use OpenAI API Key directly, ideal for cost-sensitive scenarios:
export SII_OPENAI_BASE_URL="https://api.openai.com/v1"
export SII_OPENAI_API_KEY="sk-..."Advantages:
- ✅ Lower API costs
- ✅ Faster response times
- ✅ Support for latest OpenAI models
Limitations:
- ❌ Cannot use SII-exclusive tools
- ❌ Conversation history not uploaded
3. Hybrid Authentication (Recommended! ✨)
Combine the strengths of both methods—enjoy OpenAI's low cost and speed while accessing SII's powerful tools:
# Set both credentials
export SII_OPENAI_BASE_URL="https://api.openai.com/v1"
export SII_OPENAI_API_KEY="sk-..."
export SII_USERNAME="your-username"
export SII_PASSWORD="your-password"Advantages:
- ✅ OpenAI model's low cost and high speed
- ✅ Full SII tool support
- ✅ Conversation history auto-uploaded
Step 4: Start Your First Session
Open a terminal inside any project and launch SII CLI:
cd /path/to/your/project
siiYou'll see the welcome screen with session info, recent chats, and release highlights.
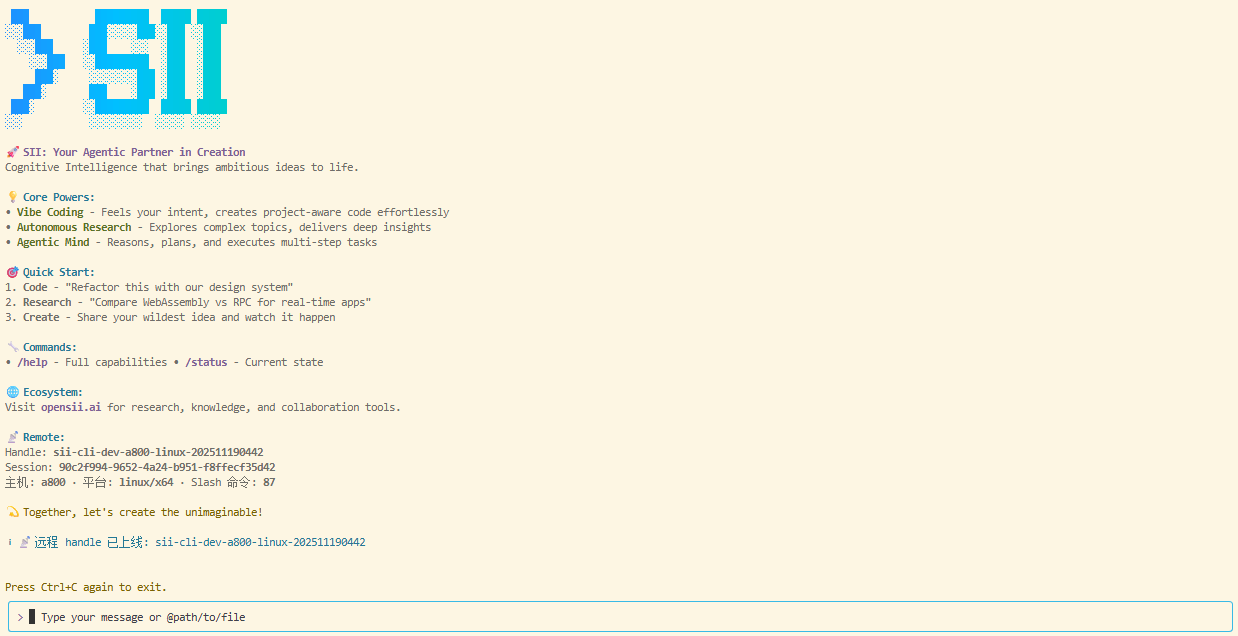
Type /help for available commands or /resume to pick up where you left off.
Step 5: Ask Your First Question
Start by learning about your codebase. Try one of these prompts:
> What does this project do?SII CLI will scan your files and summarize them. Ask more specific questions too:
> What technologies does this project use?> Where is the main entry point?> Explain the folder structure.You can also ask about the CLI itself:
> What can SII CLI do?> How do slash commands work in SII CLI?> Can SII CLI work with Docker?Step 6: Make Your First Code Change
Let SII CLI perform a real edit:
> Add a hello world function to the main file.SII CLI will:
- Find the right file
- Show the proposed changes
- Ask for your approval
- Apply the edit
Step 7: Use Git with SII CLI
Git operations become conversational:
> Which files did I change?> Commit my changes with a descriptive message.Handle more advanced tasks too:
> Create a branch called feature/quickstart.> Show the last 5 commits.> Help me resolve merge conflicts.Step 8: Fix Bugs or Add Features
SII CLI shines at debugging and implementation. Describe what you need:
> Add input validation to the user registration form.Or squash an existing issue:
> There's a bug that lets users submit empty forms—fix it.SII CLI will:
- Locate relevant files
- Understand the context
- Implement the solution
- Run any available tests
Step 9: Try Other Everyday Workflows
SII CLI supports many flows:
Refactor code
> Refactor the auth module to use async/await instead of callbacks.Write tests
> Write unit tests for the calculator function.Update docs
> Update the README with installation instructions.Code review
> Review my changes and recommend improvements.Performance tuning
> Analyze and optimize this slow query.Generate code
> Create a REST API endpoint that returns the user list.Essential Commands
Keep these commands handy:
| Command | Purpose | Example |
|---|---|---|
sii | Launch interactive mode | sii |
sii "task" | Run a one-off task | sii "Fix the build error" |
sii -p "query" | Ask a one-shot question | sii -p "Explain this function" |
sii -c | Continue the most recent chat | sii -c |
sii -r | Resume a previous conversation | sii -r |
sii commit | Create a Git commit | sii commit |
/clear | Clear conversation history | > /clear |
/help | List available commands | > /help |
exit or Ctrl+C | Quit SII CLI | > exit |
See the CLI Reference for the full list.
Pro Tips for New Users
💡 Tip 1: Be specific
Detailed prompts produce better results:
❌ Nope: Fix this
✅ Better: Fix the email validation in the user registration form
💡 Tip 2: Provide context
Include relevant details:
> In src/auth.js the login function doesn't handle errors properly.
> When the API returns 401 we should show "Incorrect username or password."💡 Tip 3: Iterate
Don't expect perfection on the first try. Guide the assistant step by step:
> Add a button.
> Make the button blue.
> Add an icon to the button.💡 Tip 4: Build on history
SII CLI remembers the conversation, so you can refer back to earlier steps:
> Create a user model.
> Add validation to that model.
> Write tests for it.💡 Tip 5: Use slash commands
Slash commands speed up common actions:
/help— list commands/clear— start a fresh chat/resume— reopen a previous session/config— view or edit configuration
Practical Examples
Example 1: Add a new feature
# Launch SII CLI
sii

# Describe the requirement
> I need to add an "Edit" button to the user profile page.
> When clicked, show a modal with editable form fields.

# SII CLI implements the feature

# Test the change
> Run the dev server so I can verify it.

# Commit once you're happy
> Create a commit for this feature.Example 2: Debug a problem
sii

> When I try to log in the console shows:
> "TypeError: Cannot read property 'token' of undefined"
> Help me find and fix this issue.

# SII CLI diagnoses and proposes a fix

> The fix looks good—apply it.

> Run the tests to make sure nothing else broke.Example 3: Refactor code
sii

> The code in src/utils/api.js is messy.
> Please refactor it:
> 1. Split each API endpoint into its own function
> 2. Add error handling
> 3. Use async/await instead of promise chains
> 4. Add JSDoc comments

# SII CLI refactors the file step by step

> Looks great! Now update the related test files.What's Next
Now that you know the basics, explore the advanced guides:
Get Help
- Inside SII CLI: type
/helpor ask "How do I ...?" - Docs: you're here—explore the other guides
- Community: join our Discord for tips and support
- Feedback: open an issue on GitHub